

How to use Amplitude with React Native
This article describes how to add Amplitude to React Native app and track events


Preface
Analytics can be really important for your application - with data you can better understand your users, their behavior and experience, find UI and UX issues. It meant analytics can help you to improve engagement, resolve UI/UX issues and increase growth and revenue. Amplitude is probably one of the most popular services that provides you an analytics platform, so let’s learn how to add it to your React Native application.
Get API token
Go to https://www.amplitude.com, press get started and create your account - nothing difficult here, but it’s expected that you’re creating it for an organization or a team (you can be a team of one, so that’s okay). Once everything is created, you will see a screen as in the image below.
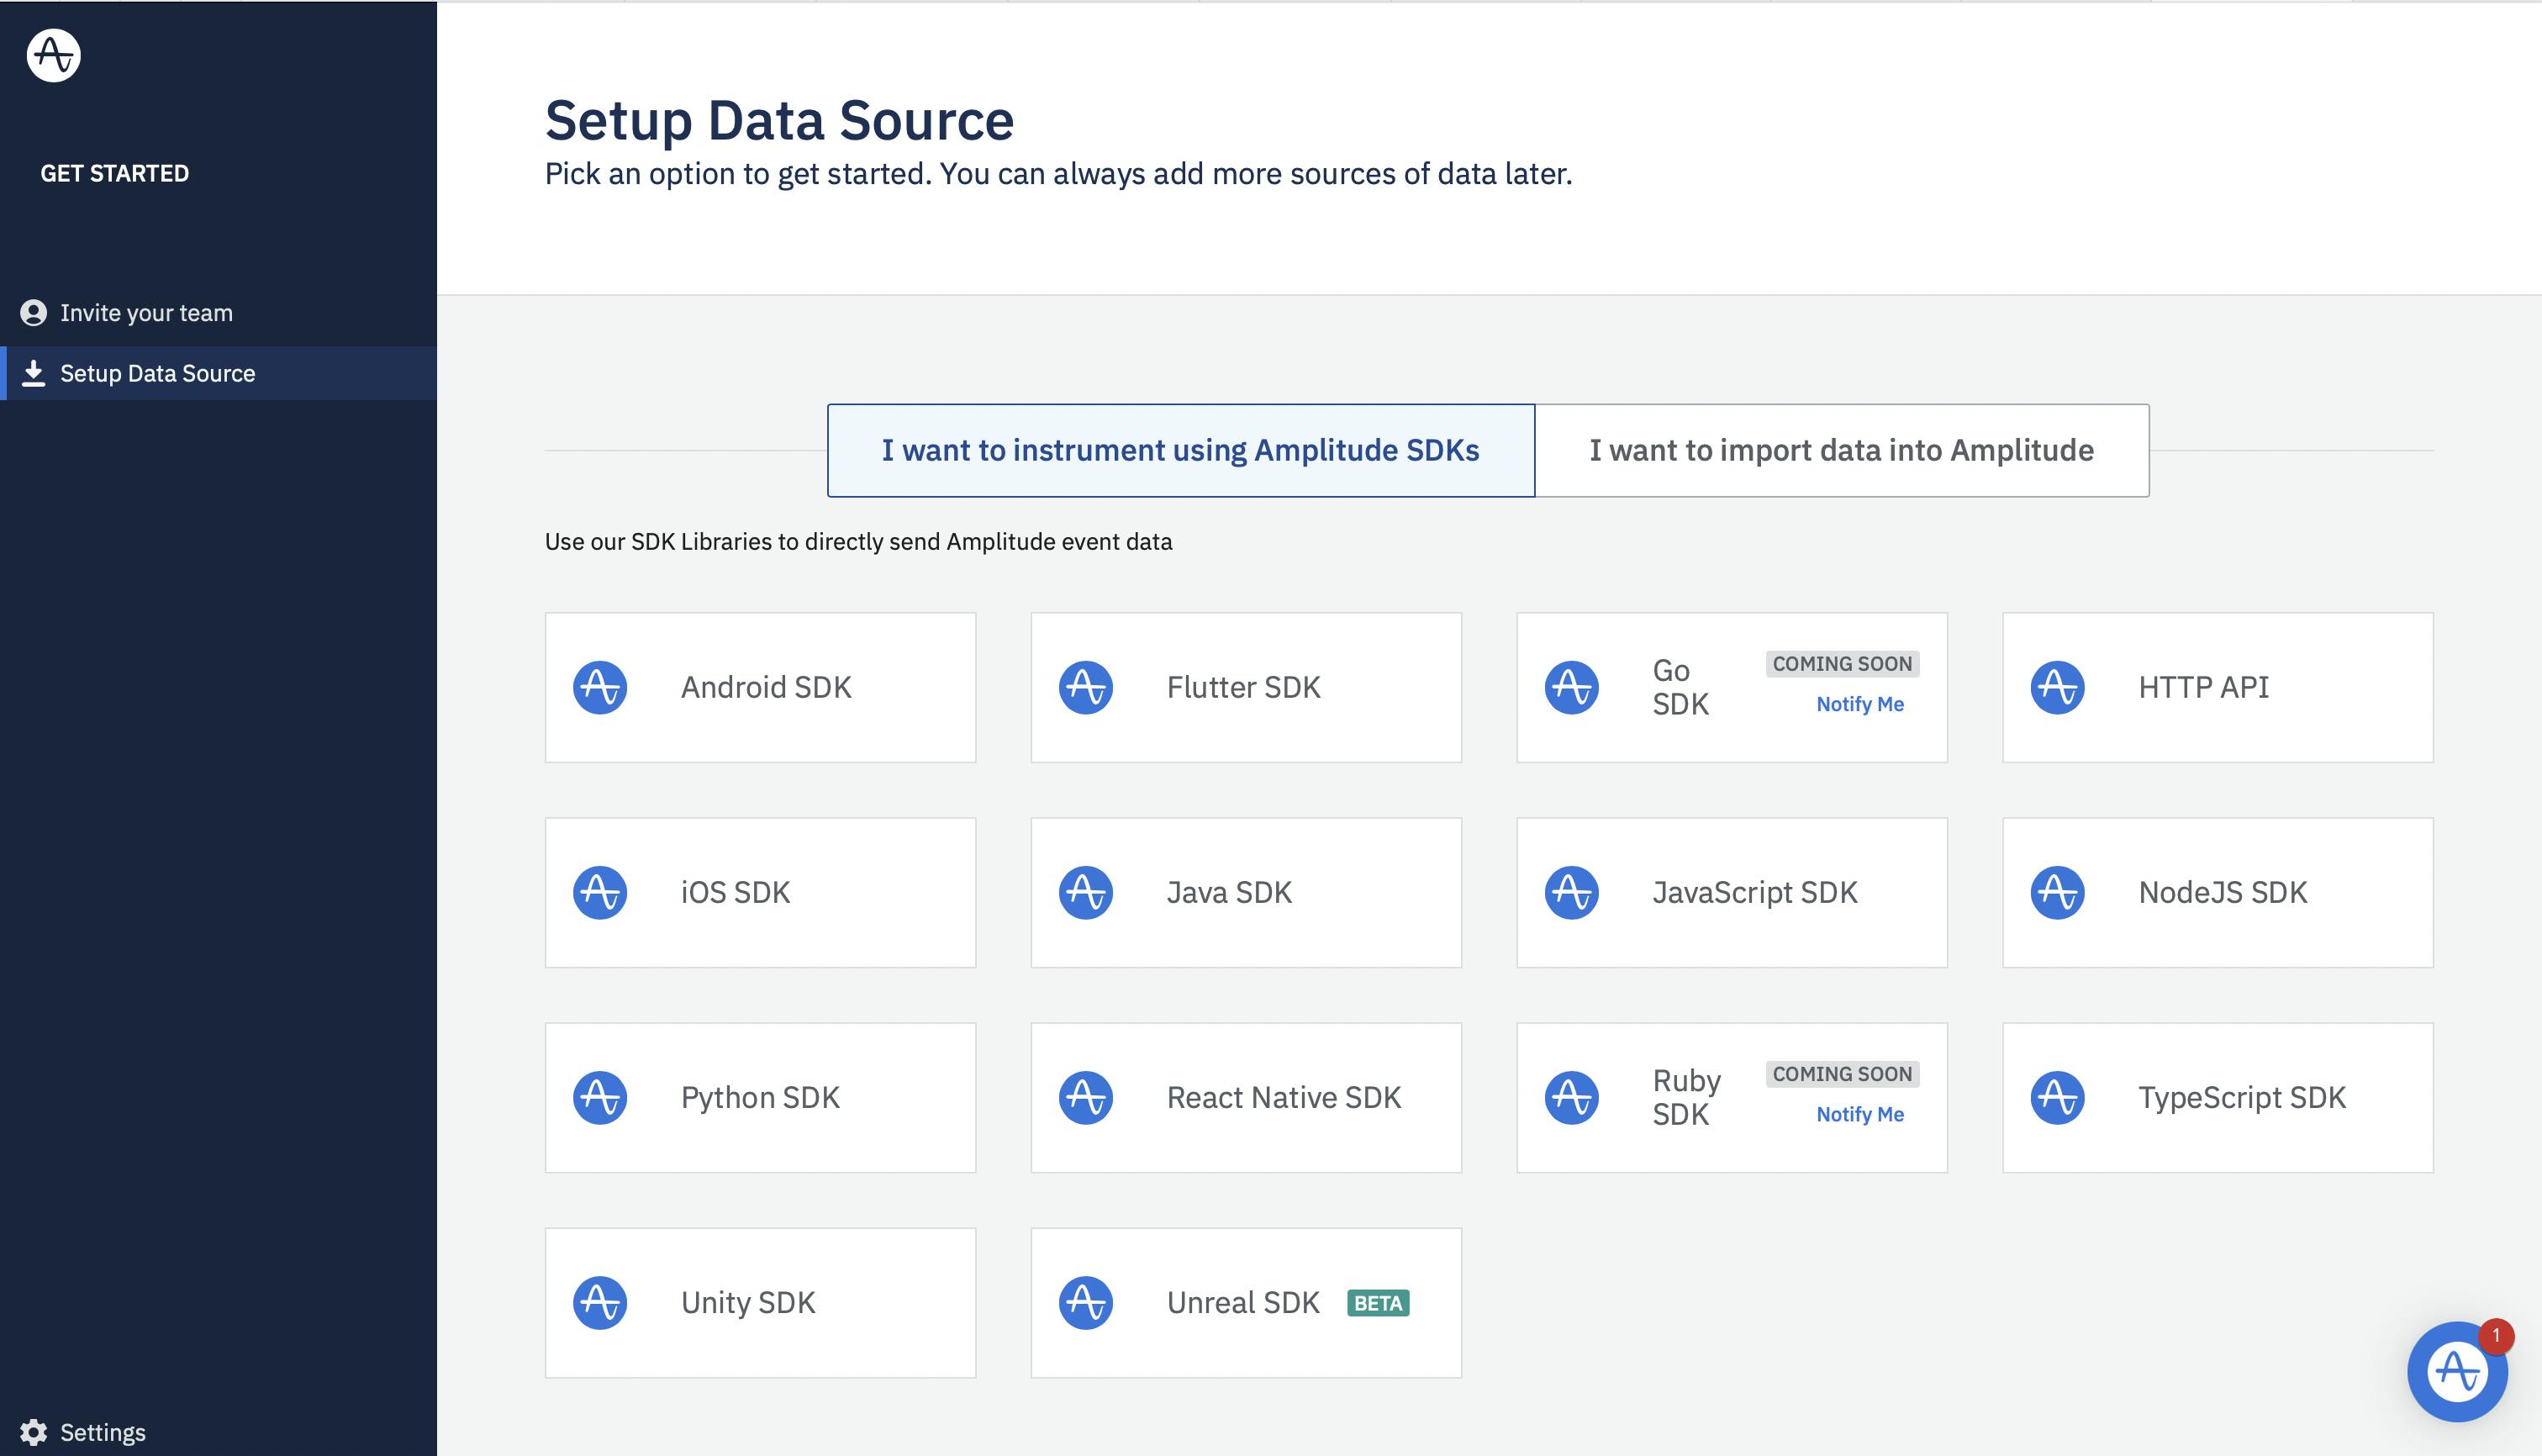
There are a number of SDKs for your choice to integrate into your app. We are going to add to our existing React Native app, so let’s click on React Native SDK. Once clicked, you will see a two-steps guide for adding Amplitude to your app. But you know what? Guide here is outdated, and it’s suggests to use package that considered legacy. What we need here is our API token - you can find it on step two as an argument of init function. Here is the code from step two:
import * as React from 'react';
import { Button } from 'react-native';
import { Amplitude } from '@amplitude/react-native';

const ampInstance = Amplitude.getInstance();
ampInstance.init(YOUR_API_KEY);

export function MyApp() {
  return (
    <Button
      title="Log Event"
      onPress={() => ampInstance.logEvent('BUTTON_CLICKED')}
    />
  );
}
Install packages
New SDK introduces better architecture which supports plugins and React Native Web. But we don’t really care about it. It’s still in Beta, but it’s pretty stable, so no worries. You need to install two packages - amplitude and async-storage. Async-storage is required for the SDK to work properly.
Install packages with yarn:
yarn add @amplitude/analytics-react-native
yarn add @react-native-async-storage/async-storage
For npm users:
npm install @amplitude/analytics-react-native
npm install @react-native-async-storage/async-storage
Then you’ll need to install native modules to run the SDK on iOS:
cd ios
pod install
That’s it! Now you have required packages installed, so let’s move on to initialization.
Initialize SDK
All you need to do to initialize the SDK is to pass your API key to init function. Probably the App component is the best place for initialization, but it’s completely up to you.
import React from 'react';
import { init } from '@amplitude/analytics-react-native';

let amplitudeInitialized = false;

const App = () => {

  useEffect(() => {
    if (!amplitudeInitialized) {
      amplitudeInitialized = true;
        init(YOUR_API_KEY);
      }
  }, []);

  // ...your app code goes here
};
Optionally, you can pass user ID and configuration object - check docs for more information.
Now you have your Amplitude configured and initialized, let’s learn how to track an event.
Tracking an event
All you need is to export track function and pass event name to it. It addition to event name you can pass event properties - object with some additional information that can be useful for your analytics (e.g. name of the screen from what purchase button were clicked). Below, you can see some usages of track function:
import { track } from '@amplitude/analytics-react-native';

// Track a basic event
track('purschase-button-pressed');

// Track events with optional properties
const eventProperties = {
  screen: 'Profile',
};

track('purschase-button-pressed', eventProperties);
Easy, isn't it? But you should never use track function directly in your components, and let me explain why.
Don’t use track function directly
If one day maintainers of Amplitude will decide to change function name from track to log you will need to change track to log in every place of usage.
Maybe later you will decide to go with AppsFlyer (one more popular solution for analytics) or even track everything with both tools. So it will require you to change all Amplitude track calls to function calls from AppsFlyer (or add one more function call everywhere to track events in both tools).
You may have both two version of your app - dev and prod, where dev version is used for internal testing and distributed TestFlight, and prod is the app users can download from store. In this case it makes no sense to collect analytics in your dev app, because it’s not going to represent real user behavior, and you want to simply console.log event name and properties. It means in all places where track is used, you’ll now have an if statement:
if (prodVersion) {
  track(eventName, eventProperties);
} else {
  console.log(eventName, eventProperties);
}
All three cases above cover one single issue - control over implementation. If you thought about custom function, you got it right. With custom function, you can step away from implementation details (whether it's Amplitude, AppsFlyer, or a simple console.log) and easily adjust it to new requirements without changing your components.
Custom hook and use cases
Functions are great, but hooks are better. Really, hooks are just functions and I don’t think that one is better over another. But hooks are the nature of React, so let’s implement a custom hook. And there is one interesting use case of custom hook.
Here you can see an implementation of our custom useAnalytics hook:
import { track } from '@amplitude/analytics-react-native';
import { useEffect } from 'react';

export const useAnalytics = (eventName, eventProperties) => {
  useEffect(() => {
    if (eventName) {
      track(eventName, eventProperties);
    }
  }, [eventName, eventProperties]);

  return (...args) => track(...args);
};
Hook accepts eventName and eventProperties, but they’re optional. It returns you a function that accepts some args (eventName and eventProperties) and pass them to Amplitude track function. There is a useEffect that will call track function with eventName and eventProperties if eventName is present.
Let’s review possible use cases.
Sometimes you may want to track an event once a component is shown on the screen (e.g. when purchase modal is shown). To implement this behavior, you need to call track function inside useEffect hook as in the code snippet below:
import React, { useEffect } from 'react'
import { track } from '@amplitude/analytics-react-native';

const Component = () => {

  useEffect(() => {
    track('component-shown');
  }, []);

  return (
    // ...
  );
};
But this approach is a little bit of boilerplate (in addition to all possible problems mentioned above). Let’s see how we can implement the same behavior with our custom hook:
import React from 'react'
import useAnalytics from '@hooks/useAnalytics';

const Component = () => {
  useAnalytics('component-shown');

  return (
    // ...
  );
};
With our custom hook, all the boilerplate code is hidden inside, so component code looks much better.
Second use case it to track different user actions, so we need to track an event in event handlers:
const Component = () => {
  const trackEvent = useAnalytics();

  const handlePurchaseButtonPress = () => {
    purchase();
    trackEvent('purschase-button-pressed', purchaseDetails);
  }

  return (
    // ...
    <PurchaseButton onPress={handlePurchaseButtonPress}>
      Purchase!
    </PurchaseButton>
  );
};
Afterword
This article covers everything you need to add Amplitude to your React Native app. There are more functions available in Amplitude, but most of the time (probably more than 80 percents of the time) you just need to track an event - and the article provides a really detailed explanation. Check Amplitude docs for more info.